Template Scheduling
A guide on creating, using, and deleting Template Schedules in MediRoutes Desktop
Template scheduling is taking a snapshot of a previous schedule and using that snapshot to schedule a future day exactly the same way.
Creating a Template
A schedule must be created before a template can be made. A template can be made from a from a previously scheduled day. Skip to Step 4 if your schedule has already been created.
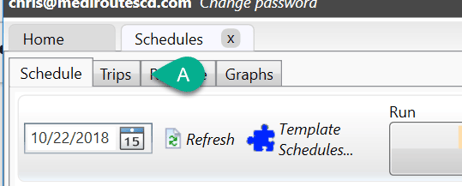
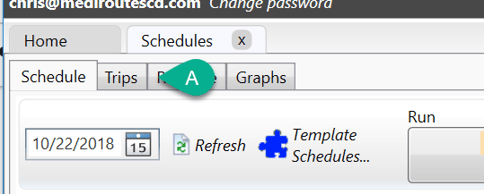
Step 1 - Navigate to Schedules Tab
A - Click on the Schedules tab

Step 2 - Use Force Scheduling to Assign Trips to Runs
Select a Run from the list and use the Force Schedule Icon to assign the trip.
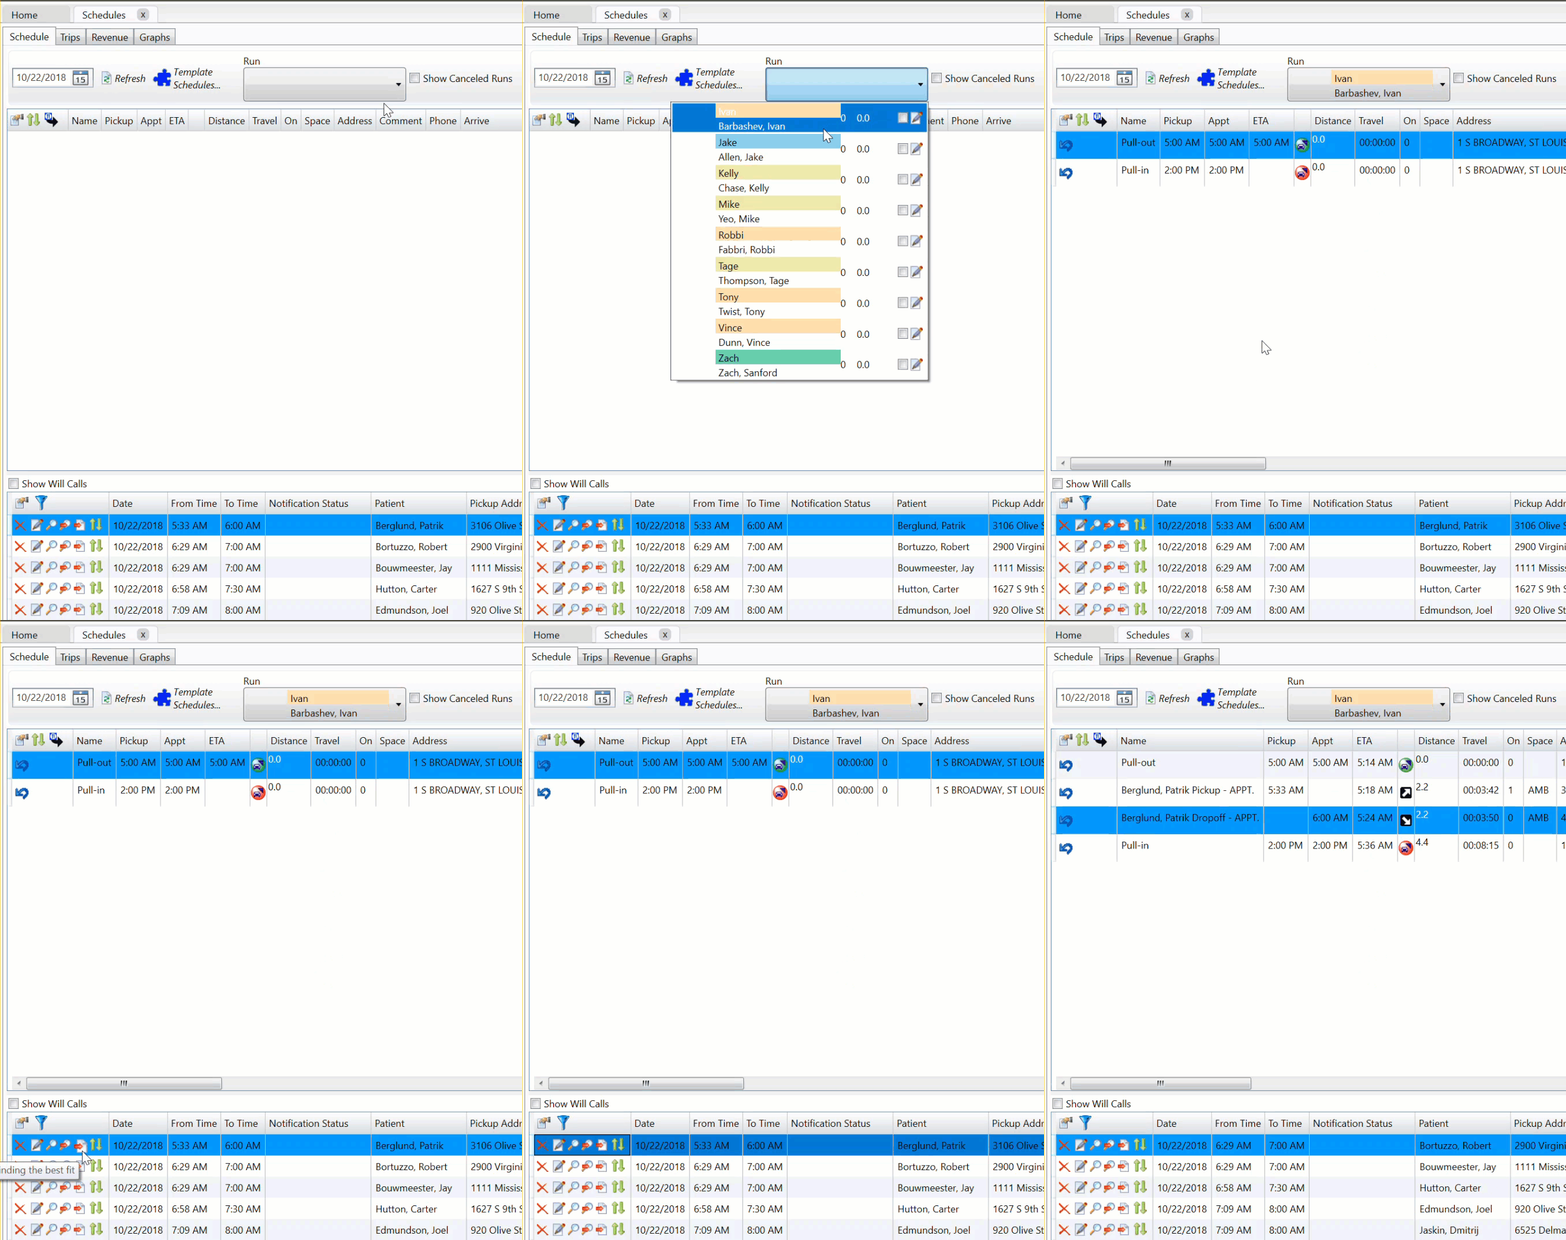
Step 2a - Optional Force Scheduling
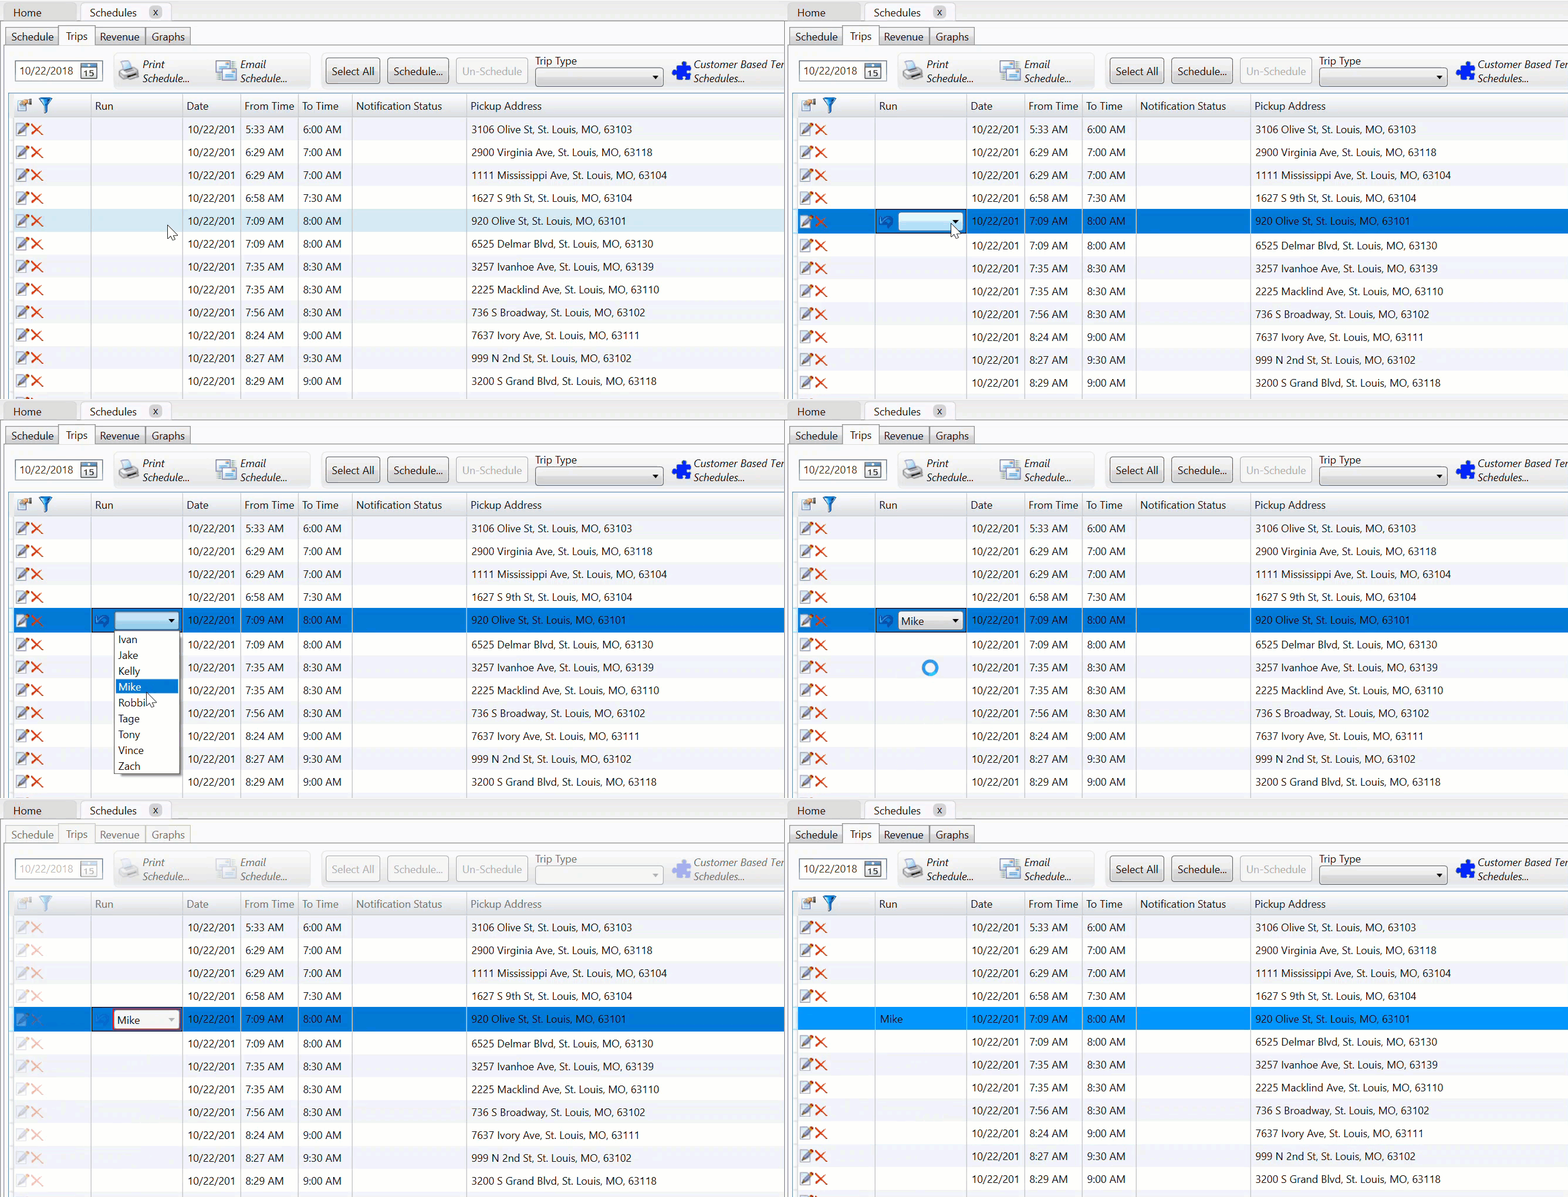
Make sure to not have any other Schedules tabs open if you schedule this way. Immediately review your routes after doing this.
A - Navigate to the Trips Tab
Double click within the Run field and select the Run the trip should be assigned to. Continue for each trip in the list that is required to be assigned to a specific Run.
Step 3 - Review Schedule
A - Return to the Schedules Tab.
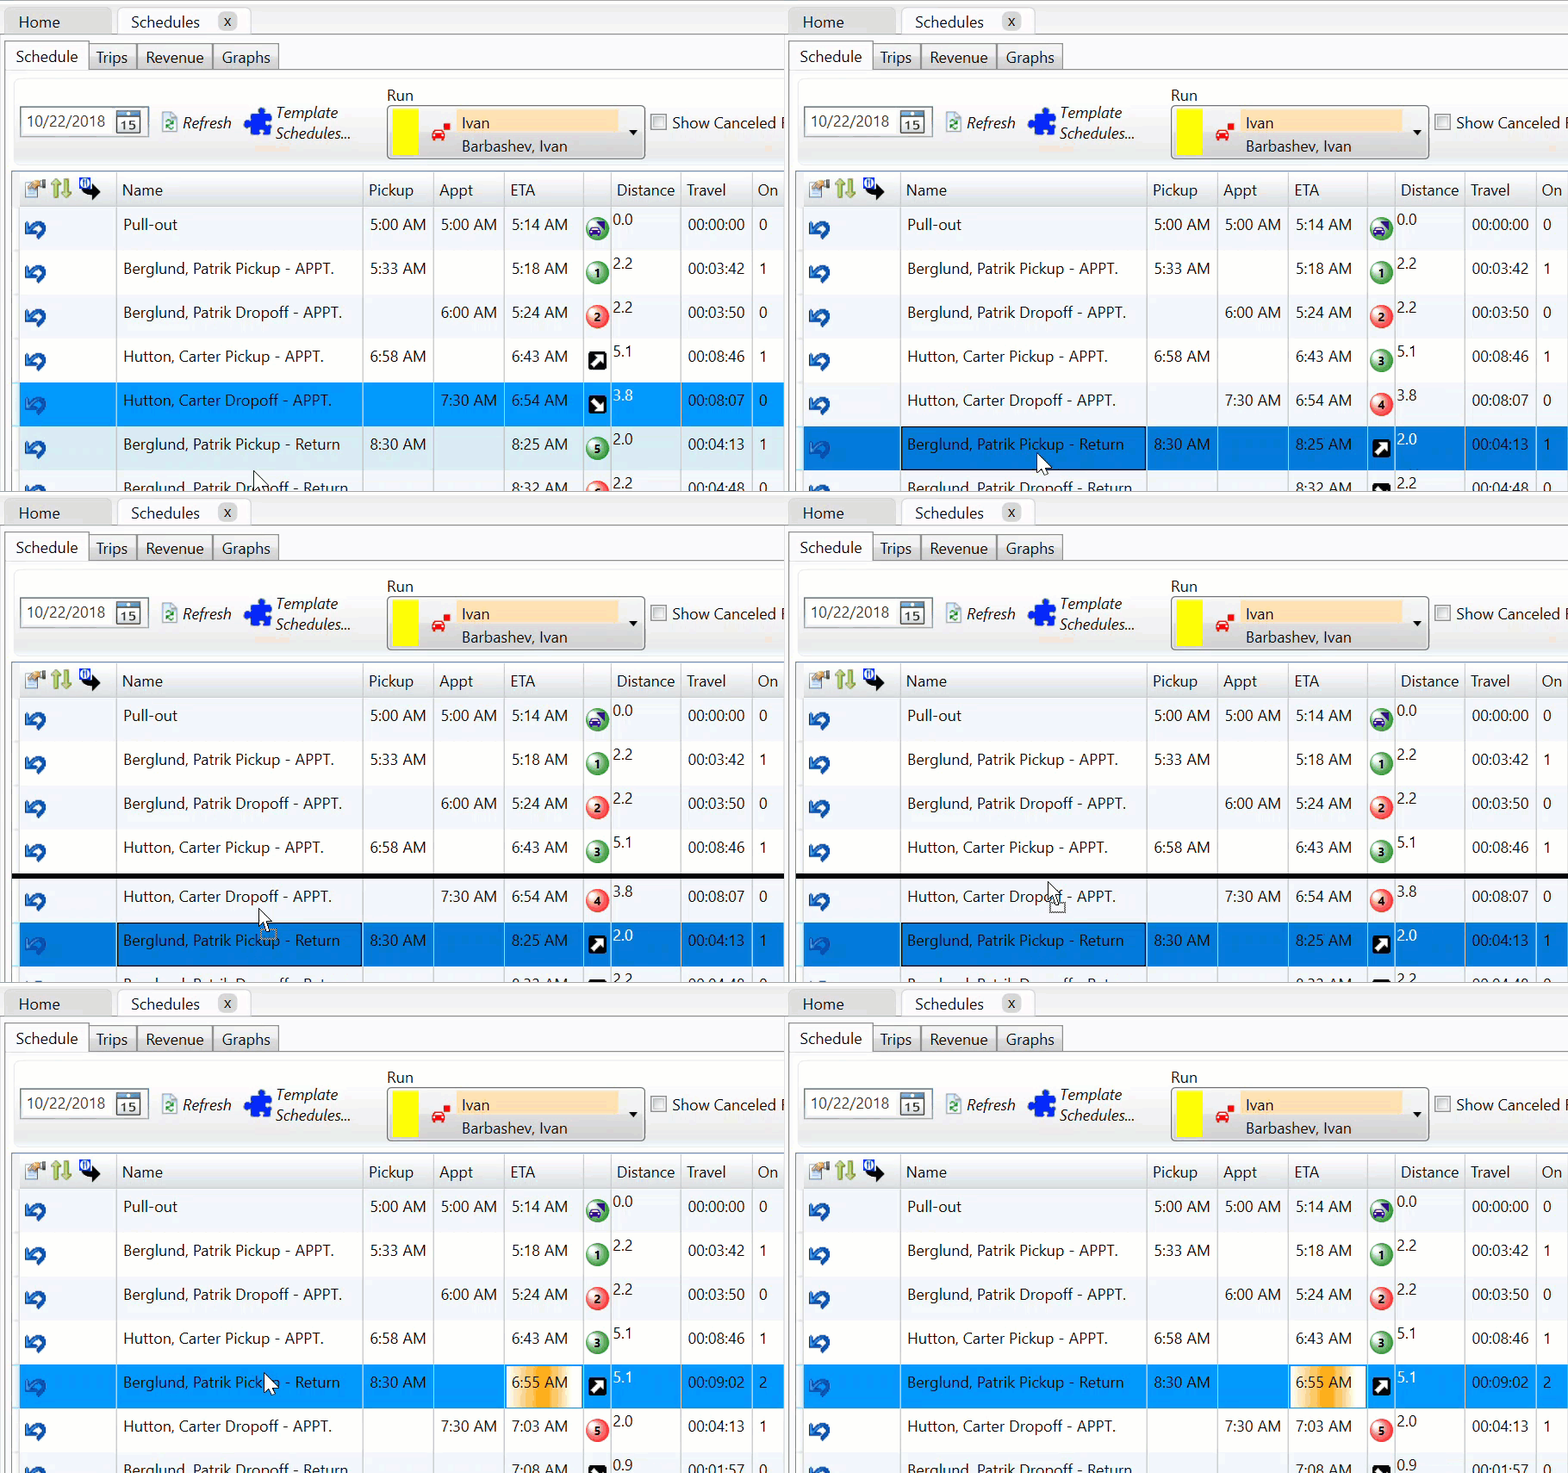
B - Use the drop-down list and review each Run that you assigned trips to. Verify that the pickups/drop-offs are in the correct order.
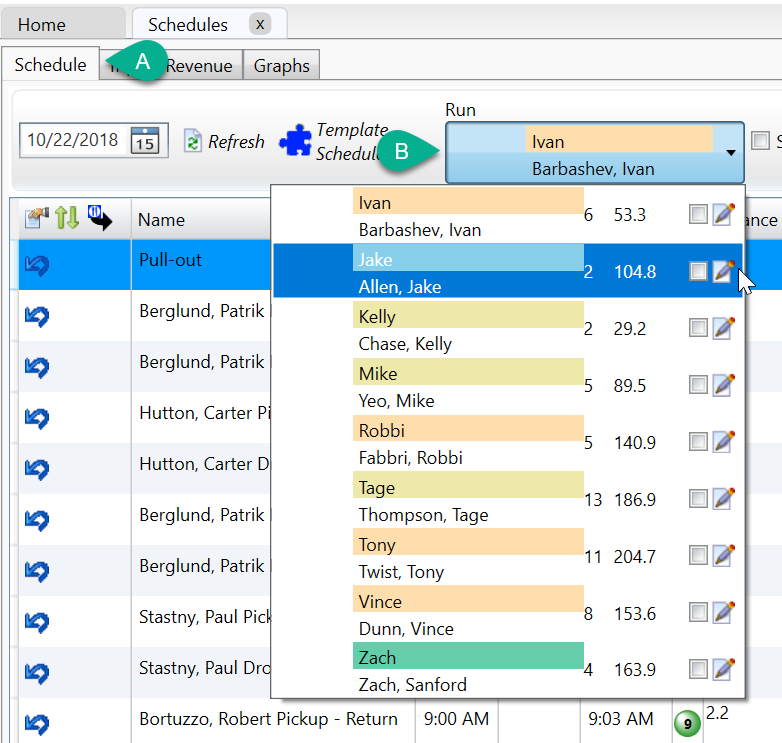
If the events are not in the correct order, double click and drag on any event to update its position on the schedule.
Step 4 - Create Template
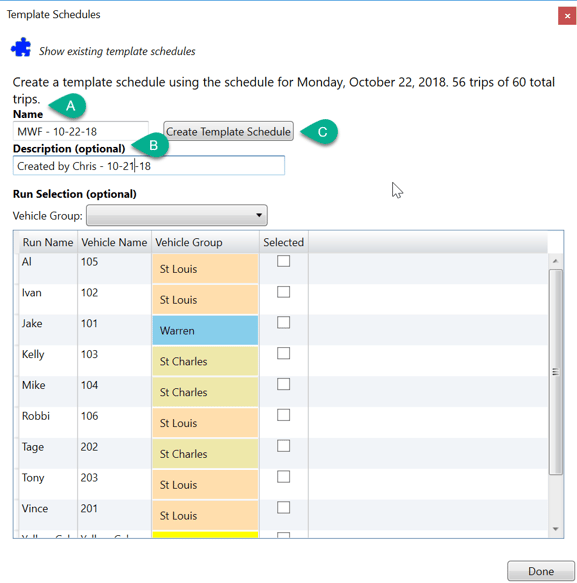
Click on the Template Schedules icon.

A - Give the Template a Name.
Tip: The name should describe what days the template is used for and what date the template was created on. For example, 'MWF 10/10/2018' or 'Tuesday 10-16-2018'.
B - Enter Description (Optional). A recommendation is to enter the name of the user creating the template, as well the current date.
C - Click on Create Template Schedule.
Using a Template
If you are using an existing template to schedule your trips, you should always use the template first, before scheduling any other trips.
Step 1 - Navigate to Trips Tab on Schedule Screen
A - Click on the Schedules tab, then the Trips Tab.
Step 2 - Schedule All Trips
A - Click Select All
B - Click Schedule

Step 3 - Select Template
A - Select a Template from drop down list.
B - Set the Buffer Time Parameters.
Tip: It is recommended that the default settings are left in place, but if your trips tend to vary more on the pickup times, these parameters can be extended.
It is recommended that the default settings are left in place.
C - Click Schedule.

Template Schedules can NOT be edited, only Deleted or Created.
Deleting a Template
To delete an existing template, navigate back to the Template Schedules window from the main Schedules tab (shown in Step 4). Click Show existing template schedules.

After selecting the Template you want to delete, click the red X next to it to delete the template from your list. 
Revised Date: 10/21/24 ARB

![MicrosoftTeams-image6f6e78ac5251452f5e9d5419521926001b2457277276701c3aff0c935893efe05f359183e579e81145254f68fa804b37b1631dcaf07986d136aeb8e94ed62bd3.png]](https://support.mediroutes.com/hs-fs/hubfs/MicrosoftTeams-image6f6e78ac5251452f5e9d5419521926001b2457277276701c3aff0c935893efe05f359183e579e81145254f68fa804b37b1631dcaf07986d136aeb8e94ed62bd3.png?height=50&name=MicrosoftTeams-image6f6e78ac5251452f5e9d5419521926001b2457277276701c3aff0c935893efe05f359183e579e81145254f68fa804b37b1631dcaf07986d136aeb8e94ed62bd3.png)